Enabling the Chat with Support Option
Self Service users can chat with your support teams. Enable this feature in the Configuration console and set the appropriate global constant. The way you enable the chat feature depends on the UI selection for the role.
To enable the Chat with support option for UI V2 (formerly Modern):
1.Sign in to Ivanti Neurons for ITSM as an Administrator.
2.In the Configuration console, set the ChatEnabled global constant to True.
3.Select Build > User Interface Styles > Style Editor.
4.In the UI column, select UI v2 (formerly Modern).
5.Select Save.
6.From the left navigation bar, select Users and Permissions > Roles and Permissions.
7.Select Self Service.
8.In the Role Details tab under Branding Options, select Enable "Chat with support" button.
9.Set the ChatEnabled global constant to True.
To enable the Chat with support option for UI V3:
1.Sign in to Ivanti Neurons for ITSM as an Administrator.
2.In the Configuration console, set the ChatEnabled global constant to True.
3.Select Build > User Interface Styles > Style Editor.
4.Find the role for which you want to enable the chat feature.
5.In the UI column, select UI v3. In the page designer, go to Global Settings > Chat Support and select Chat with support.
6.Select Save.
To Configure the Chat User Interface for UI V3:
1.Sign in to Ivanti Neurons for ITSM as an Administrator.
2.In the Configuration console, go to User Interface Styles > Style Editor.
3.Find the role for which you want to configure the chat user interface and click on the  Edit icon.
4.On the Designer page, go to Global Settings.
5.Click on Chat Support.
6.Click on the Edit  icon next to Chat with Support.
7.In the Chat with Support Settings window, go to the Chat Window panel.
Chat Window Panel
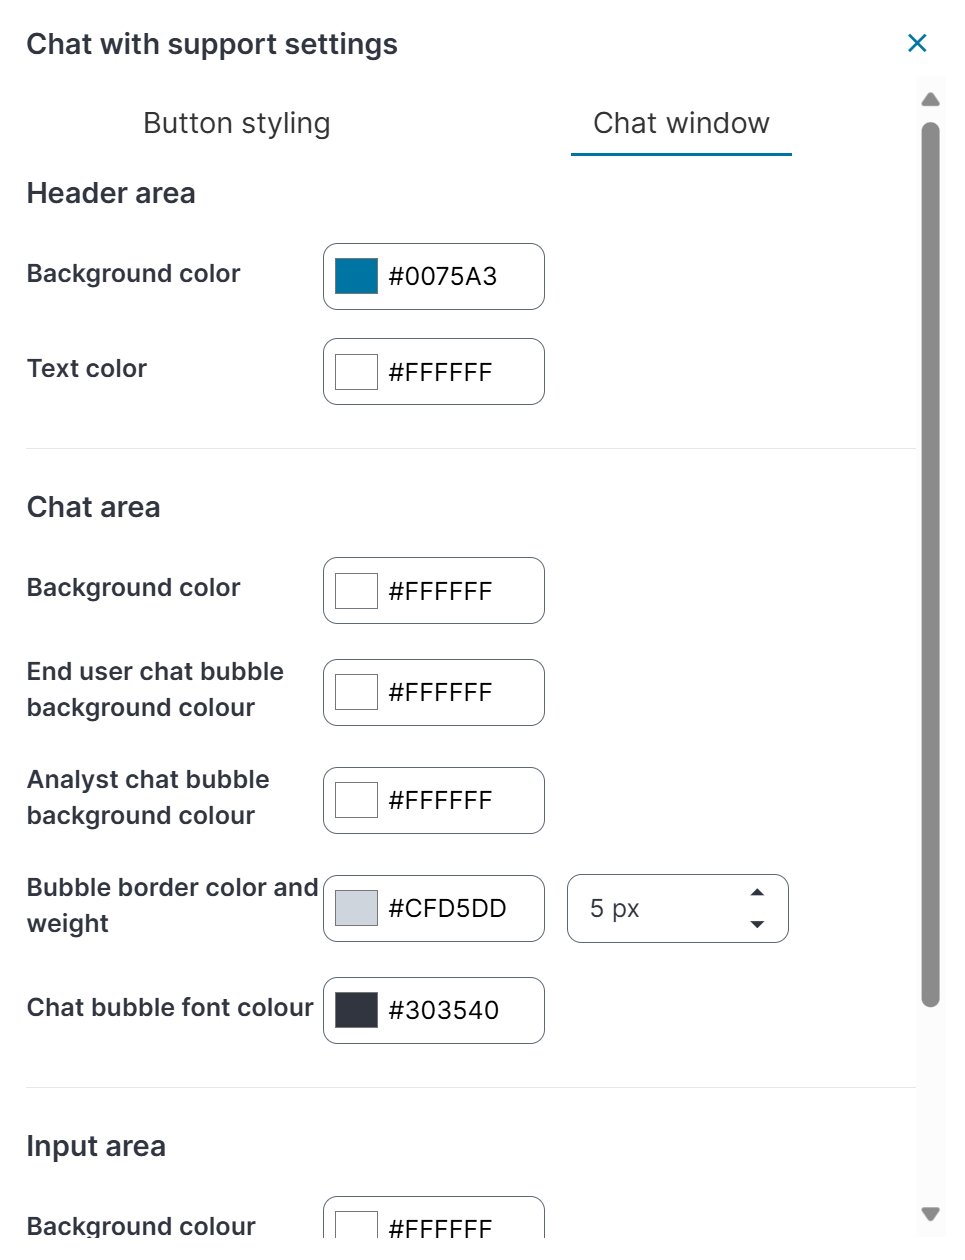
8.Customize the UI styles for the Header area, Chat area and Input area.
9.Click Apply.
After saving the configuration, go to the Self service UI and refresh the browser to see the changes in the chat option.